Showing posts with label mixed media. Show all posts

30 November 2019

PaperArtsy Blog - Topic 19 - Cute Critters


Hi everyone, I'm contributing on the PaperArtsy blog today where I'm sharing Party Cats card for the cute critters topic.


You couldn't get cuter or more fun than Elena's Zinski Art Christmas stamp set ZA50, the purrrrrrfect party animals! 


My background is a mix of Infusions, they are Olive Tree and Frankly Scarlet.


I did my paint splatter with Iceberg and Snowflake Fresco Finish Chalk Acrylics and I also used the Snowflake to stencil in the background through Sara's Christmas stencil 114 with a stencil brush.


Intial colouring is with Inktense watercolour pencils, I've used a dabbing action to achieve the mottled appearance of the fur. You can see the stenciled pine leaves here, they make a nice border around the card. 


I added a touch of coloured pencil over the watercolouring here and there but I didn't need much. These two Infusions colours are gorgeous in the background and perfect for Christmas colour schemes.

There are more close up photo's and steps on the PaperArtsy blog and lots of inspiration over the two weeks of this topic if you love stamping cute characters.

Have a lovely weekend!
Chris


9 August 2019

Paperbabe Stamps August Release - Stencils


Hi everyone, I'm back today with my project using the new Paperbabe Stamps stencils. The August release has been in full swing on the Paperbabe Stamps blog all this week and all the new products will be for sale in the Paperbabe Stamps Shop on Saturday.

The designs are fantastic, so many uses for them too for mixed media backgrounds, patterned hair and clothes, masterboards etc., etc.


Doodle stars

Star Masks

Cross Hatch

Dots on Stripes

Dotty

Iso Fun

Lino Cuts

Pebble Rows


I love stars so it was the first one I picked up for this project but I'll be enjoying using them all I know.


I made an abstract style birthday card and used a lined index card as my substrate with transparent Fresco Finish Chalk Acrylics so that the lines showed through. Over the top I put some paint coloured Grunge Paste through the stars stencil and brushed over with some Mica powder when it was dry. I just added a die cut sentiment to finish it off also dusted with mica.

There's lots of lovely inspiration from Kim on the Paperbabe Stamps Blog and links to all the gorgeous projects from the Paperbabe Team as well.

Happy shopping tomorrow and have a lovely weekend!

Chris x

8 August 2019

Paperbabe Stamps August Release - Mini Templates


Hi everyone, there's a new release reveal all this week on the Paperbabe Stamps blog with lots of new goodies to choose from which will be for sale in the Paperbabe Stamps shop on Saturday.


Above you can see the project in full using the new Mini sized versions of the dinky's previously released. It's good to have a template size for every type of project and I've made a large card with the Side Swept Waves, one of the Mini Torso's and the Mini Face stamps from an earlier release.


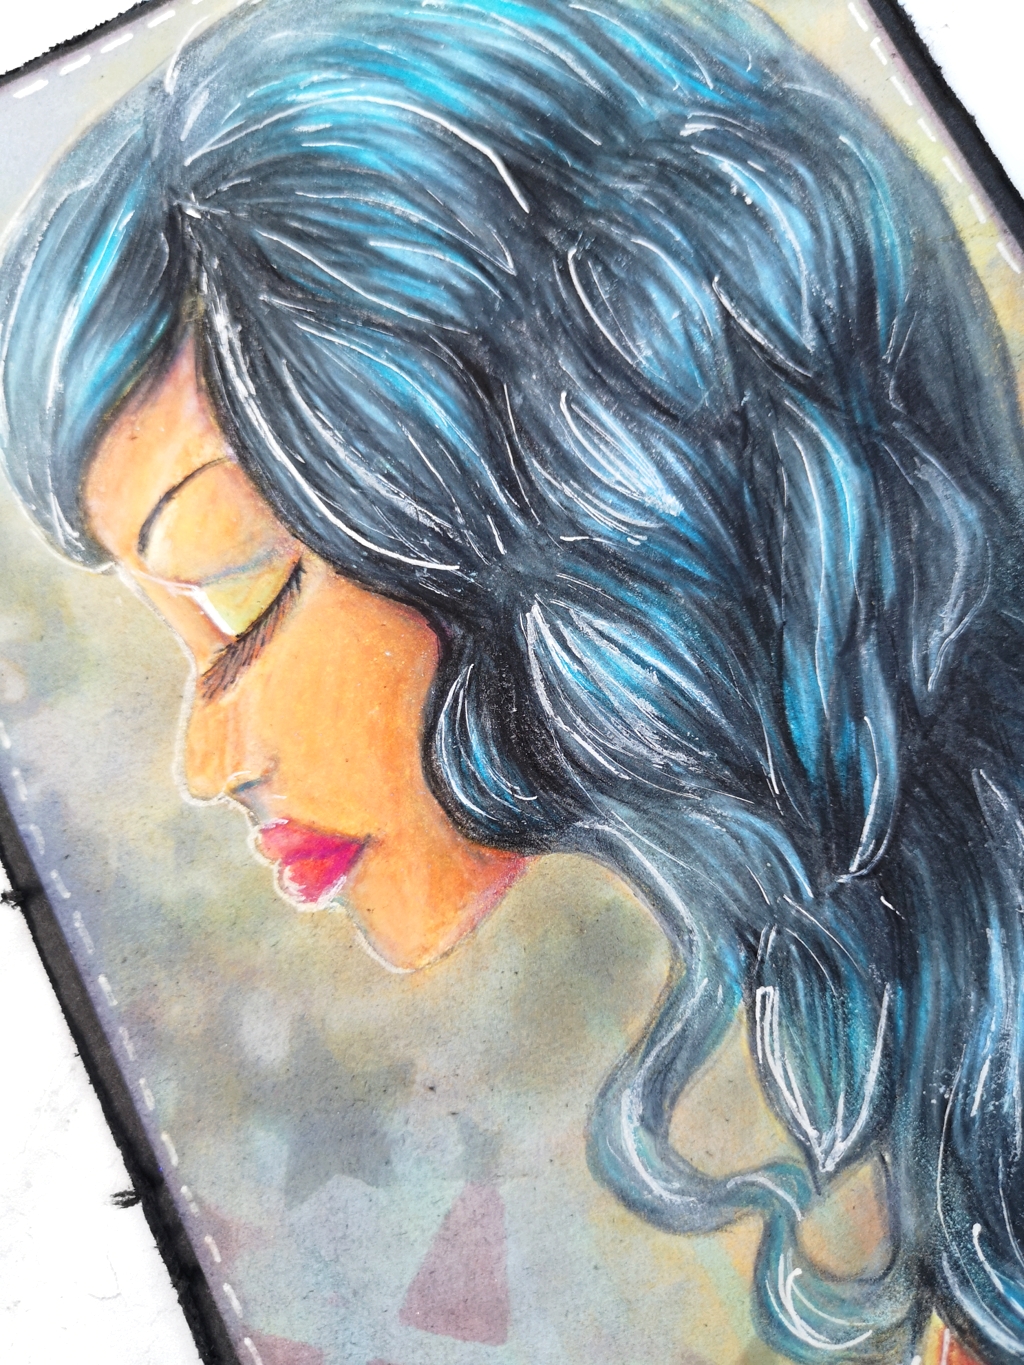
I started off with a sepia only colour scheme in mind but as you can see it couldn't be much further from that :D. The figure was originally coloured with vintage photo distress ink then I used coloured pencil over the top. There's highlighting with white gel pen and a mixed stencil background. You can see some of the new stencils to be revealed tomorrow here, I used Distress Oxide ink which I knocked back a lot for a muted effect in the background but I used the stars one again on her bodice where it's more prominent and outlined in white pen.

I enjoyed doing her hair and creating waves, highlight and shadow. Close up the black is blacker, the photo didn't pick up on it too well this time.

I hope you'll pop over to the blog to see all the lovely inspiration from Kim and links to the Paperbabe Stamps team.

I'm back tomorrow for the stencils reveal.

Chris x


10 July 2019

PaperArtsy - New Stamps Release - Seth Apter Mini's

July 2019 New Products
Eclectica³ Collection {Seth Apter}


Hi everyone, I'm sharing my projects with Seth Apter's new mini's #41-48 for the release tonight on the PaperArtsy Blog.  I very much admire Seth's art which is all about layering and his new mini's are perfect for making that easy and enjoyable as they all go together so well.

You can create depth and textural interest with the stamps by stamping in different colours and overlaying with black and further down the post you can see how I created my base layers with very quick and easy techniques. 


My first make is a large Birthday Tag. I stamped with all of the stamps over my base layer in various coloured inks and finally with black. 


Outlining some of the stamped images in white pen helps to bring them forward and add interest. Glossy dimensional glue has been added to the die cut letters and on the circles on the focal star from Seth's stamp set ESA 03 for extra shine.


I used a couple of Seth's embossing powders to create yet more texture on the die cut scalloped frame and on the wood star embellishments. 


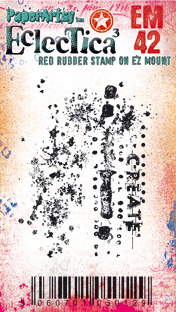
I cut a smaller tag from the same base layer outlined in white and also die cut some stars to add to the painted and glossed wood stars. I cut out the word 'create' from EM42 and used it for my sentiment.


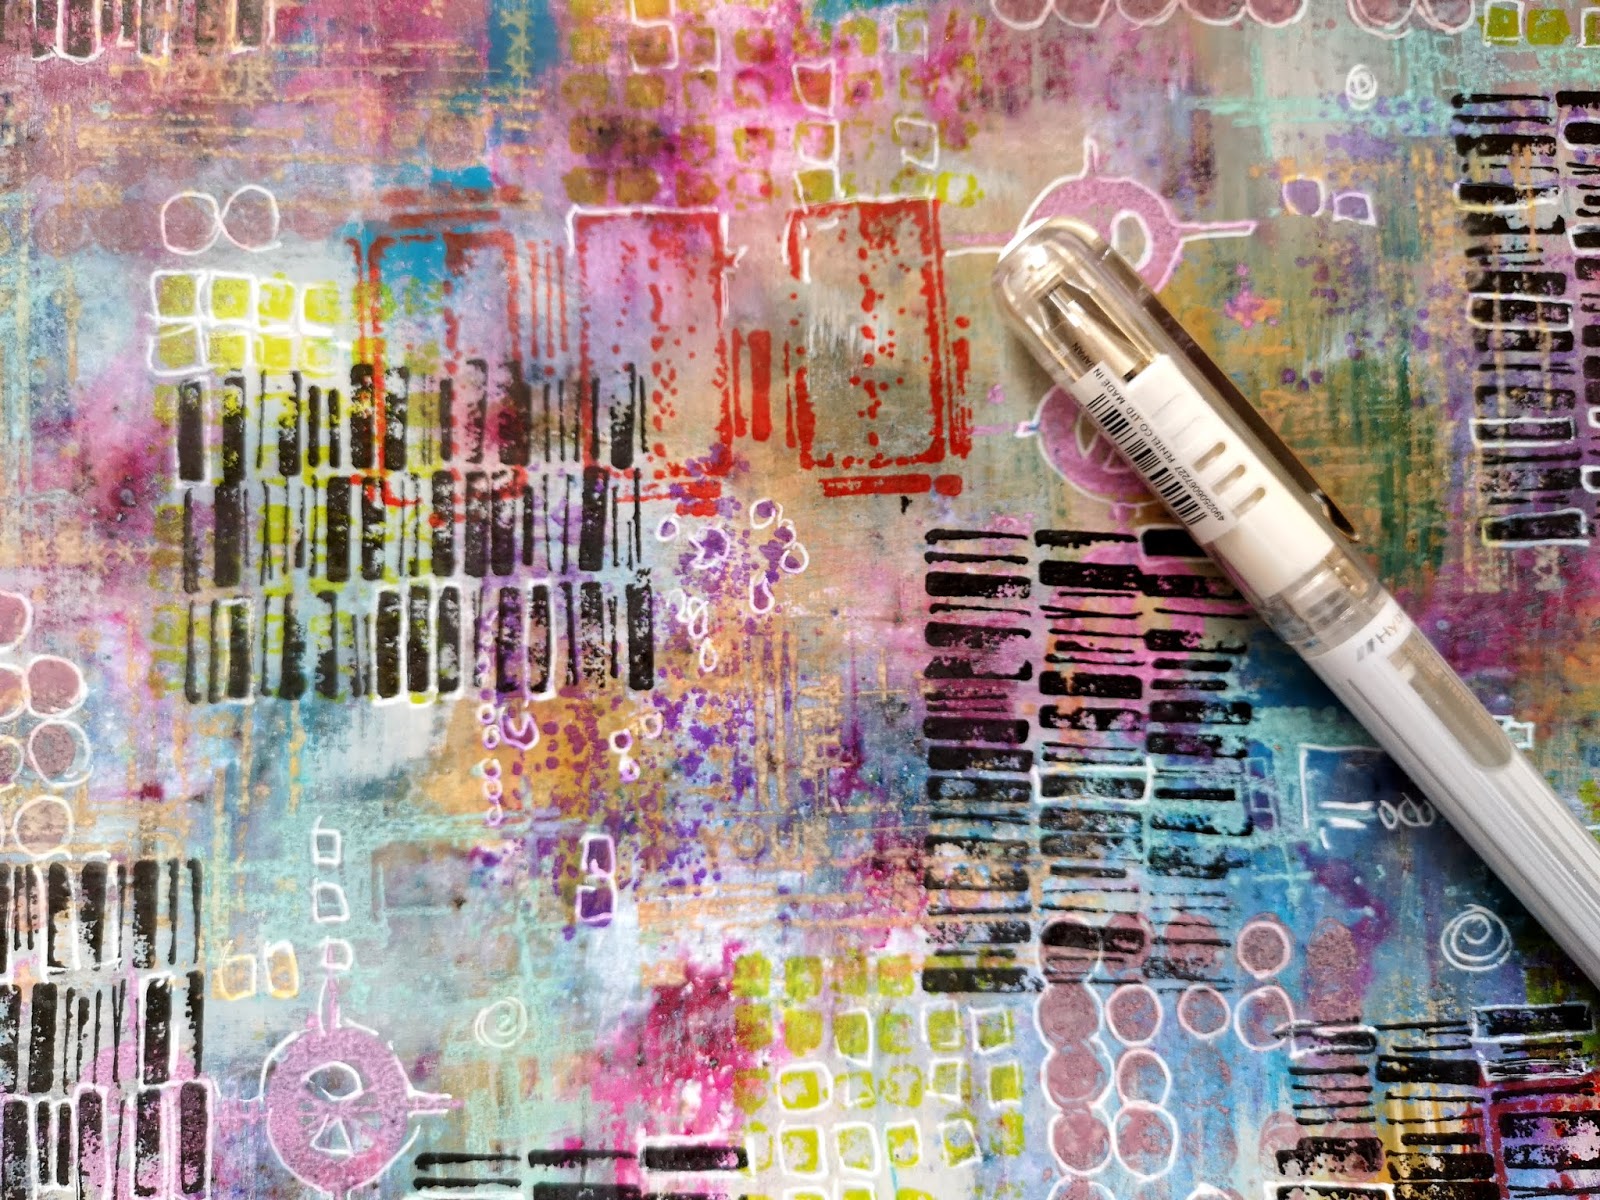
I love the grunginess of some of the mini's in this collection. EM47 has those lovely grungy lines!


Similar to the tag above but slightly differently embellished and using the text 'your story' from MA46.


For this tag, I used the stamps with a gel plate print and the bolder design mini's work particularly well with the gel plate. The words are taken from MA46.


I love the texture you get with mono prints, I used thin brayered layers of Fresco Finish Chalk Acrylics for this tag.


A die cut mono print is decorated with the same technique of outlining and this time made into a card, I like the more feminine colour scheme from this part of the print, colours tend to get mixed on the gel plate so you can end up with quite a variety of colour schemes which is perfect for batches of tags or cards that all look a little different.


The die cut heart is covered in glossy dimensional glue which I used to highlight areas of most of the samples.


Another card from a mono print.


All the ribbons I added were dyed with Infusions; damp the seam binding ribbon, sprinkle with Infusions powders and dry off. 


I started off with a master board base layer adding various complimentary colours of Fresco Finish Chalk Acrylics with a large brush, a few sprinklings of Infusions and finish with a lighter colour or two on top to bring it all together. This is a nice base for stamping all over with all of the stamps in various colours of ink.


The final touches are stamping in black and some outlining in with fine liner pens.


My second substrate is an easy splatter and squish method! Spatter watered down Fresco Finish Chalk Acrylic Paints Blue Lagoon, Terracotta and Claret on to two sheets of Heavy Weight Smoothy cardstock, smoosh them together paint sides facing, pull apart then allow to dry.


Repeat the process using Infusions in Slime, Royal Blood, Violetta and Olive Tree diluted in water. I stamped in black over these pieces and used for some of my layers and die cuts.


I usually keep a few paints in this little wood crate on my desk, it's patiently been waiting for some colour and pattern and the Mini's are lovely for creating random abstract patterns


I didn't mount the stamps on a block just dabbed on Fresco Finish Chalk Acrylics and randomly stamped around the box, overlapping and not thinking about it too much. I really enjoyed finally getting some colour on this crate and I have another slightly bigger one to do next, perhaps I'll use the orange and pick selection I already have in the box and add a selection of blue/green paints to that one.

Chris x