Showing posts with label Christmas cards. Show all posts

30 November 2019

PaperArtsy Blog - Topic 19 - Cute Critters


Hi everyone, I'm contributing on the PaperArtsy blog today where I'm sharing Party Cats card for the cute critters topic.


You couldn't get cuter or more fun than Elena's Zinski Art Christmas stamp set ZA50, the purrrrrrfect party animals! 


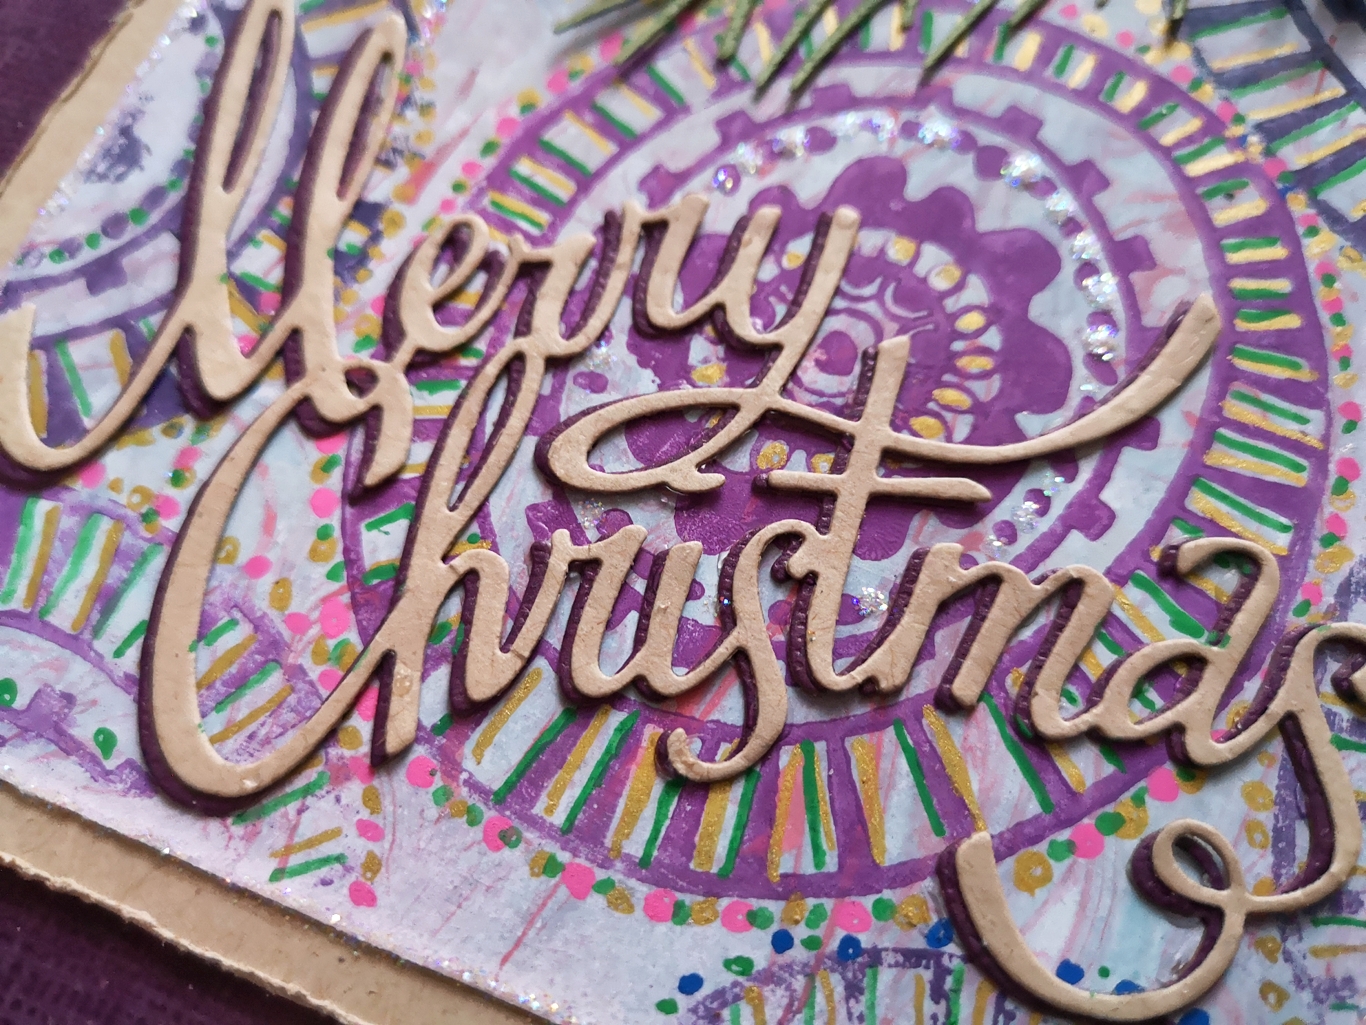
My background is a mix of Infusions, they are Olive Tree and Frankly Scarlet.


I did my paint splatter with Iceberg and Snowflake Fresco Finish Chalk Acrylics and I also used the Snowflake to stencil in the background through Sara's Christmas stencil 114 with a stencil brush.


Intial colouring is with Inktense watercolour pencils, I've used a dabbing action to achieve the mottled appearance of the fur. You can see the stenciled pine leaves here, they make a nice border around the card. 


I added a touch of coloured pencil over the watercolouring here and there but I didn't need much. These two Infusions colours are gorgeous in the background and perfect for Christmas colour schemes.

There are more close up photo's and steps on the PaperArtsy blog and lots of inspiration over the two weeks of this topic if you love stamping cute characters.

Have a lovely weekend!
Chris


22 November 2019

PaperArtsy Topic 18 - Shaving Foam - Festive Foam


Hi everyone, I have a post to share on the PaperArtsy Blog today which is all about Shaving Foam! Something I hadn't ever tried for crafting and I very much enjoyed it. I was lucky enough to have some of the new stamps by Tracey and also some of the new paint colours which are very pretty. I've gone bold and pastel with some Christmas cards now made to add to my stash! There are lots of gorgeous examples from other contributors too, a really lovely topic that everyone enjoyed! More photo's and steps I took on the PaperArtsy blog post.


Have a great weekend!

Chris x


21 December 2010

Katzelkraft DT Card


Hi everyone, it's my day to post on the Katzelkraft blog and I've a Christmas card using the gorgeous tree stamp from Lumiere de Noel plate.

To get the multi coloured ink effect on the tree I made a custom ink pad using cut and dry felt [thank you Tim H :)] which I inked with distress ink refills Barn Door, Bundled Sage and Tumbled Glass. I then inked the stamp from the custom ink pad and stamped onto the white card. I've matted onto red card and used SEI patterned paper in the background. All the edges were inked with Walnut Stain distress ink and I added some ribbon, twine and a rusty tin bell to decorate.  A nice quick card and easy to make in multiples once the ink pad has been made which makes it easy for any last minute Christmas cards.

We've had a lot more snow the last few days which isn't making it easy to get out and about, I hope you're keeping warm where you are :)

15 December 2010

Craft Barn Wishing Well - Shaker Cards


Hi everyone! Another wishing well day at the Craft Barn blog today and this time we're making shaker cards which is a wish granted for Jan who wins a prize for having her question picked and asked the team for ideas of how to make a Christmas Shaker card.  On the Craft Barn Blog there's a great step by step from Michelle with a very clever idea for these and also a step by step from me on how I made the card above together with the materials list and chance to win a prize for leaving a comment. 


Enjoy your day and thank you for your lovely comments, I always appreciate them.

7 December 2010

Katzelkraft Christmas card


Hi everyone, I have a Christmas card to show  today for my day on the Katzelkraft blog using the beautiful stamp from the half plate Nuit de Noel and the snowflake stamp from Santa KTZ746. The main image was stamped with Versafine Black Onyx ink and then water coloured with Distress inks.

I cut out the image using a Nestabilities Labels die, embossed the image whilst still in the die and then stamped the snowflake around the edges using Old Paper distress ink. I also made a mat of red card for the image panel using the die as the template, drawing around it with a pencil and then cutting it out.

To decorate the panel I added some faux stitching at the top and used a red fine liner pen for the stitches, stickles glitter glue, some red gems and the red ribbon bow. Using a Stampin Up slot punch I made the holes at the sides so that the ribbon could be slotted through. For the card base BasicGrey Jovial paper was used from a 6x6 pad mounted on red card.

Enjoy your day!

2 December 2010

Craft Barn - Find the owl competition


Hi everyone! A card today for day 2 of the Craft Barn 'find the owl competition' so I hope you can pop over there for all the details of the competition, some gorgeous inspiration from my DT friends and of course the chance to win a lovely prize.


More details of my card, how it was made and the materials at the Craft Barn blog. Have a good day and see you tomorrow for day 3.

29 November 2010

Tilda with fir tree


Hi everyone! Another Tilda card today and this is Tilda with fir tree from the Merry Little Christmas collection. She's coloured with distress inks, cut out and layered over some lovely Webster's Pages paper which I've stamped on with the Magnolia trees and the holly swirl stamp. I've die cut some trees from more Webster's paper and added them over the background and then added lots of little glitter card snowflakes, stickles and pearl pen. I've tried to keep this one a bit flatter and I'm also testing the water on Ebay with this one to see if it sells :D

I'm entering this card into Cute Card Thursday 'Blast from the past' challenge and I've chosen challenge 86 glitter me silly, I just wish all the sparkle would show up more on the card photo :)

Have a nice evening.

27 November 2010

BasicGrey Challenges 34 - A recipe


Hi everyone, hope you're having a good start to the weekend and not freezing too much! Another fortnight has rolled by (where do they go?) and it's time for another challenge on BasicGrey Challenges.

From the blog:

For this fortnights Challenge we would like you to use the following Recipe :)
4 Different Types of Embellishments(You can have as many of each type as you wish, as long as there are 4 different kinds, for example Ribbon, Pearls, Flowers, Charms etc etc)
3 Different Patterned Papers
(You can have as many plain matting papers as you wish, just as long as there are 3 patterned papers)
1-2 Images and/or 1-2 Sentiments(You can choose to have up to 2 in either of these, or even both if you wish)
Don't forget though, to be eligible to win the fab prize for this challenge you MUST use at least one item from BasicGrey somewhere on your creation, it would also be helpful if you could state on your post what that item is, makes it easier for us you see :) 

My DT friends have made some gorgeous cards for inspiration and as always there's a lovely prize from our sponsor Simon Says Stamp, I hope you can join us.

For my card I've used the gorgeous Snowy hug from the Magnolia 'Merry Little Christmas' collection which I've water coloured with distress inks and cut out using a nestabilities labels die. I've used the die as a template to make the mats under the image in pink glitter card and paper from BasicGrey Eskimo Kisses collection, I also used these for the rest of  the card to make up my three papers for the recipe. The snowflakes are a combination of Martha Stewart and Woodware  punches and I've used glitter, gems and ribbon as well to make up my four types of embellishments. 

Have a lovely Saturday.

16 November 2010

Katzelkraft DT Card - Winter Scene with cracked glass embossing


Morning everyone! My day for the Katzelkraft DT blog today and a Christmas card, it's good to get them started :D and isn't this stamp the most magical winter scene?

To make my card I used the Arbres 01 - Plaque 1/3

I stamped the winter scene in black Versafine ink over white card sponged with spun sugar and tumbled glass distress ink. To get the cracked glass look on top of the image I triple embossed it with Utee and then put it in the freezer for half an hour to get very cold. I gently cracked the piece after freezing, working quickly around the image as  you don't have very long to do this before it's too warm again.  If you crack too much the embossing will come off (ask me how I know :D) but it's a lovely effect and one of my favourites. Some black soot distress ink was then sponged into the cracks to show them up a bit more and I cleaned off the excess ink to make it shine again.

The image panel was mounted on black card and layered over papers from BasicGrey. I've doodled some dots with a white gel pen and added some pearls with a Viva Decor white pearl pen. I stamped the Noel sentiment over the paper and finished off with some blue ribbon and a punched and glittered snowflake.
Enjoy your day.
Chris :)


9 November 2010

Katzelkraft DT Card - Christmas


Hi everyone! Another Christmas card for Katzelkraft DT blog from me today using the very beautiful [they're all beautiful, sigh :)] deer image from Nuit de Noel plate and the snowflake from Santa 01 plate. Katzelkraft stamps are also available in the UK from The Craft Barn.


The deer image from the set is stamped using Versamark ink and then embossed with white detail embossing powder. Around the image and inside the card I've stamped with the snowflake stamp and white ink and I've also sponged some of the ink around the edges of the image panel and the card base. The image was cut using a Nestabilities labels die and I also used the largest die in the set to cut an edge on to the right side of the card.

 I dyed my white ribbon by spraying with two colours of glimmer mist, scrunching it up and leaving it to dry out. When dry and unravelled the ribbon has a lovely sparkle and a vintage look and you can make it more vintage looking by using coffee grounds as part of the process, my blog friend Michele has a lovely tutorial here on how to do it. To embellish I added some half pearls and Stickles glitter glue around the image and the image panel was popped up on dimension tape.

29 October 2008

Christmas Sparkle

Hi everyone, I've made another quick Christmas card which will be one of a batch using Pink Petticoat downloaded image and paper. I've coloured the image with sparkle gel pens and matted on green card with a velvet ribbon and gem to finish. I do love quick cards when there are a lot to make! TFL.

Back soon,
Chris